Today, let’s have an Inglorious Hack . Indeed , I recently bought the NoIR camera for Raspberry Pi, a sensor able to see infrared. The issue : how to take nice pictures with the Raspberry Pi plugged into my office? This is where the NoIR RaspCamera project begins …
The idea is simple : make the Raspberry Pi independent and able to take a picture.
Concerning the hardware, nothing complicated :
A Raspberry Pi B Model ( but it goes with A) and his case.
A SD Card 4GB
A NoIR camera (the classic one works too ).
A Wi-Fi USB key.
A PC reset button.
A smartphone external battery, including a USB port (here, I used an Energizer coming with a suction cup ).
Some elastics.
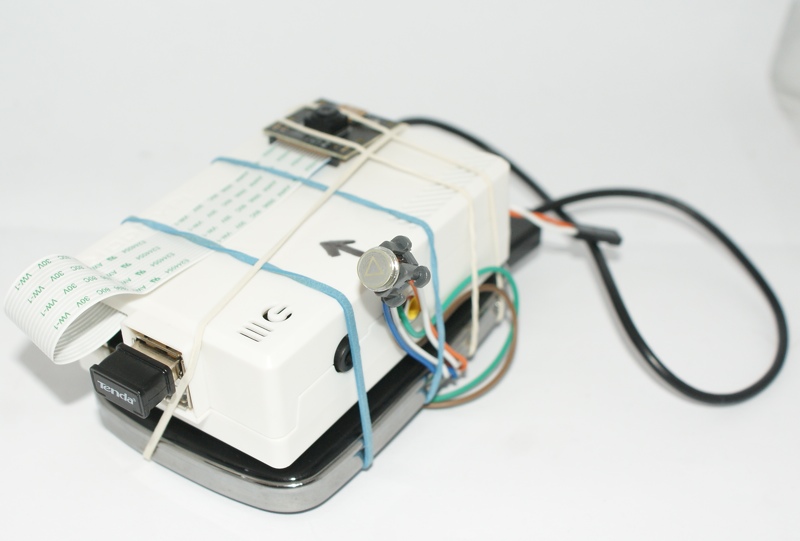
Mon appareil photo
Former details
Install the Raspberry Pi in a conventional manner, and activate the camera. For the trigger , it’s pretty easy : a reset button from an old PC case connected to the Raspberry GPIO.
Plug a connector to the Raspberry Pi GPIO 0, and another to the ground (there are several pins) .
Then just create a Python script that will take pictures. The command used takes into account my camera and my choices , and it is possible to change the settings.
#!/usr/bin/env python

import time

import os

import RPi.GPIO as GPIO

import subprocess
GPIO.setmode(GPIO.BCM)
GPIO.setup(0, GPIO.IN)
while True:
if GPIO.input(0)==0:
subprocess.call(["raspistill","-awb", "horizon", "-ISO", "200", "-ex", "antishake","-rot", "90", "-t","50","-o","/home/pi/AFP/test"+str(time.time())+".jpg"])
Once saved, the script has to be executable.
sudo chmod +x /home/pi/scriptaexecuter.py
Then, we need to make the script start at boot .
sudo nano /etc/rc.local
Just before the exit 0, add the following line .
python /home/pi/scriptaexecuter.py &
Why Wi- Fi?
The reason is simple : to retrieve pictures easily. The Raspberry Pi SD card contains the photos , I do not have a SD card reader on hand, and playing with USB keys roughly disconnected from the device is a bad idea.
So I installed an AFP share accessible via Bonjour from a Mac (and probably PC) following (and slightly modifying) this tutorial (in french).
I then installed a Wi -Fi USB key broadcasting an open network (the Raspberry Pi is not connected to the Internet) and thus sharing photos via the AFP. This is the technique I used to create a Nabaztag server (in french too).
Once that is done , just start the Raspberry Pi on its external battery and go take pictures. To recover them , it’s easy : connect to the open network ( or Ethernet with a B model) and reach the share network created. Magical.
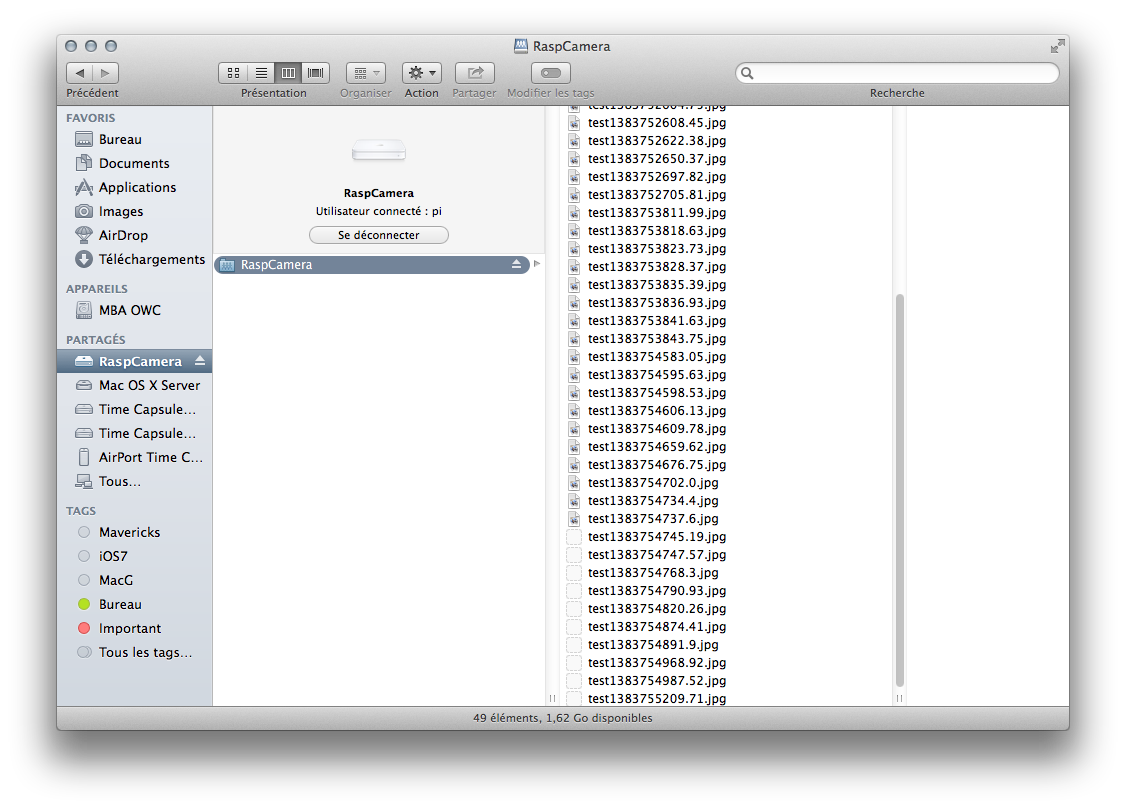
AFP share
The autonomy seems correct to me, I have not measured, but I have not drained the battery .
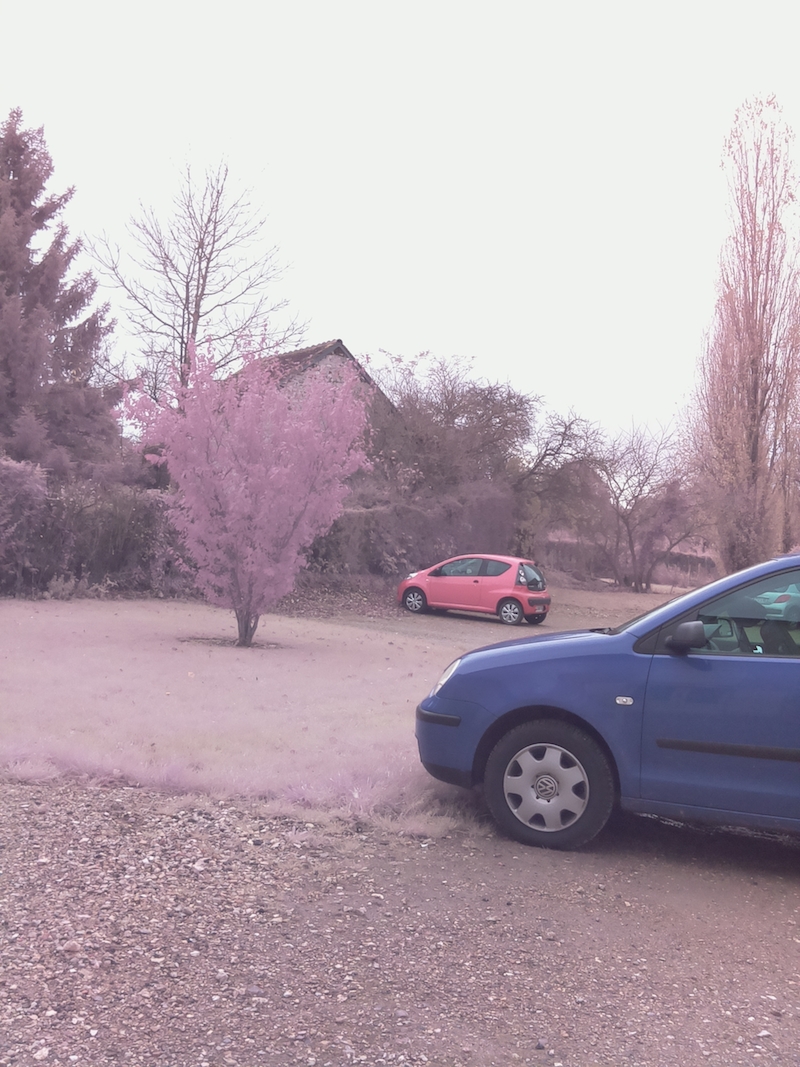
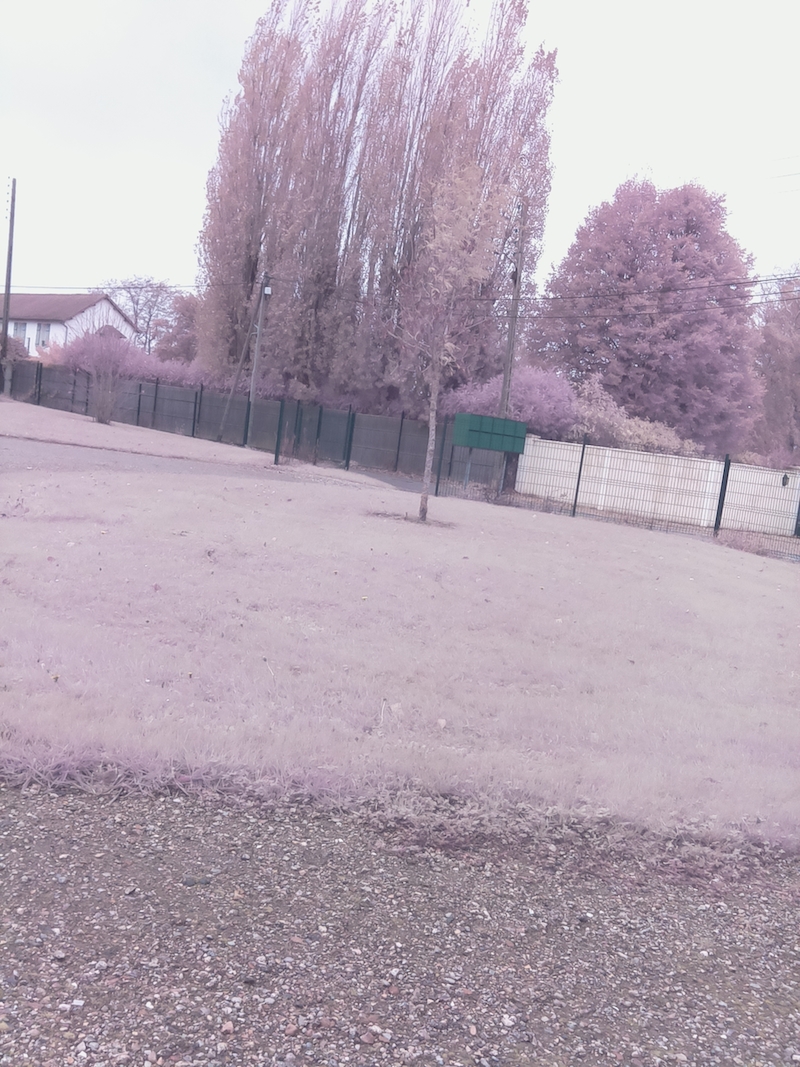
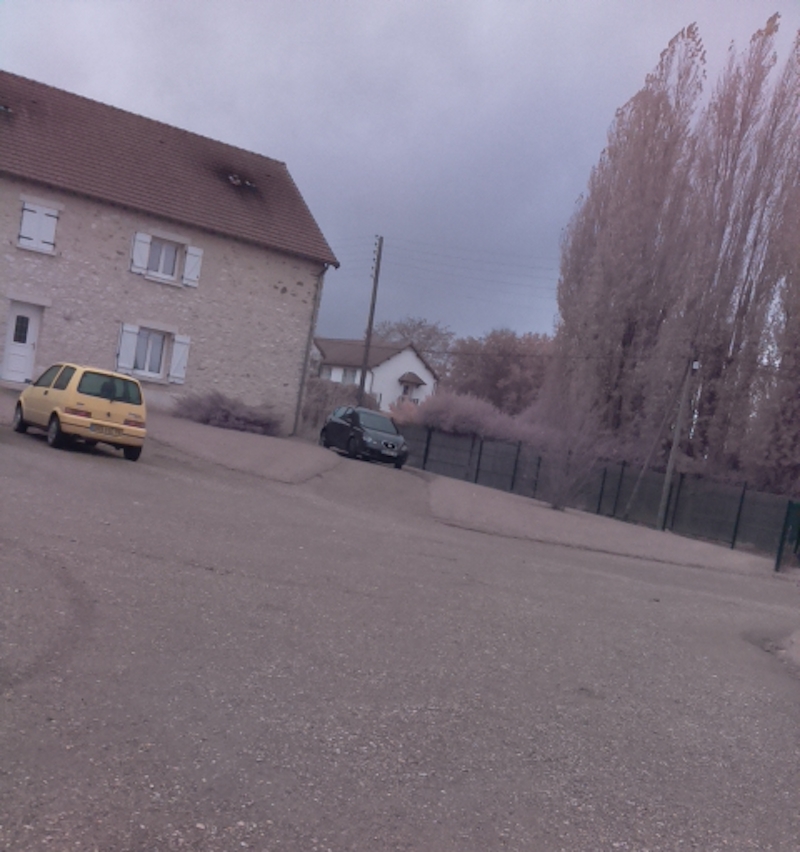
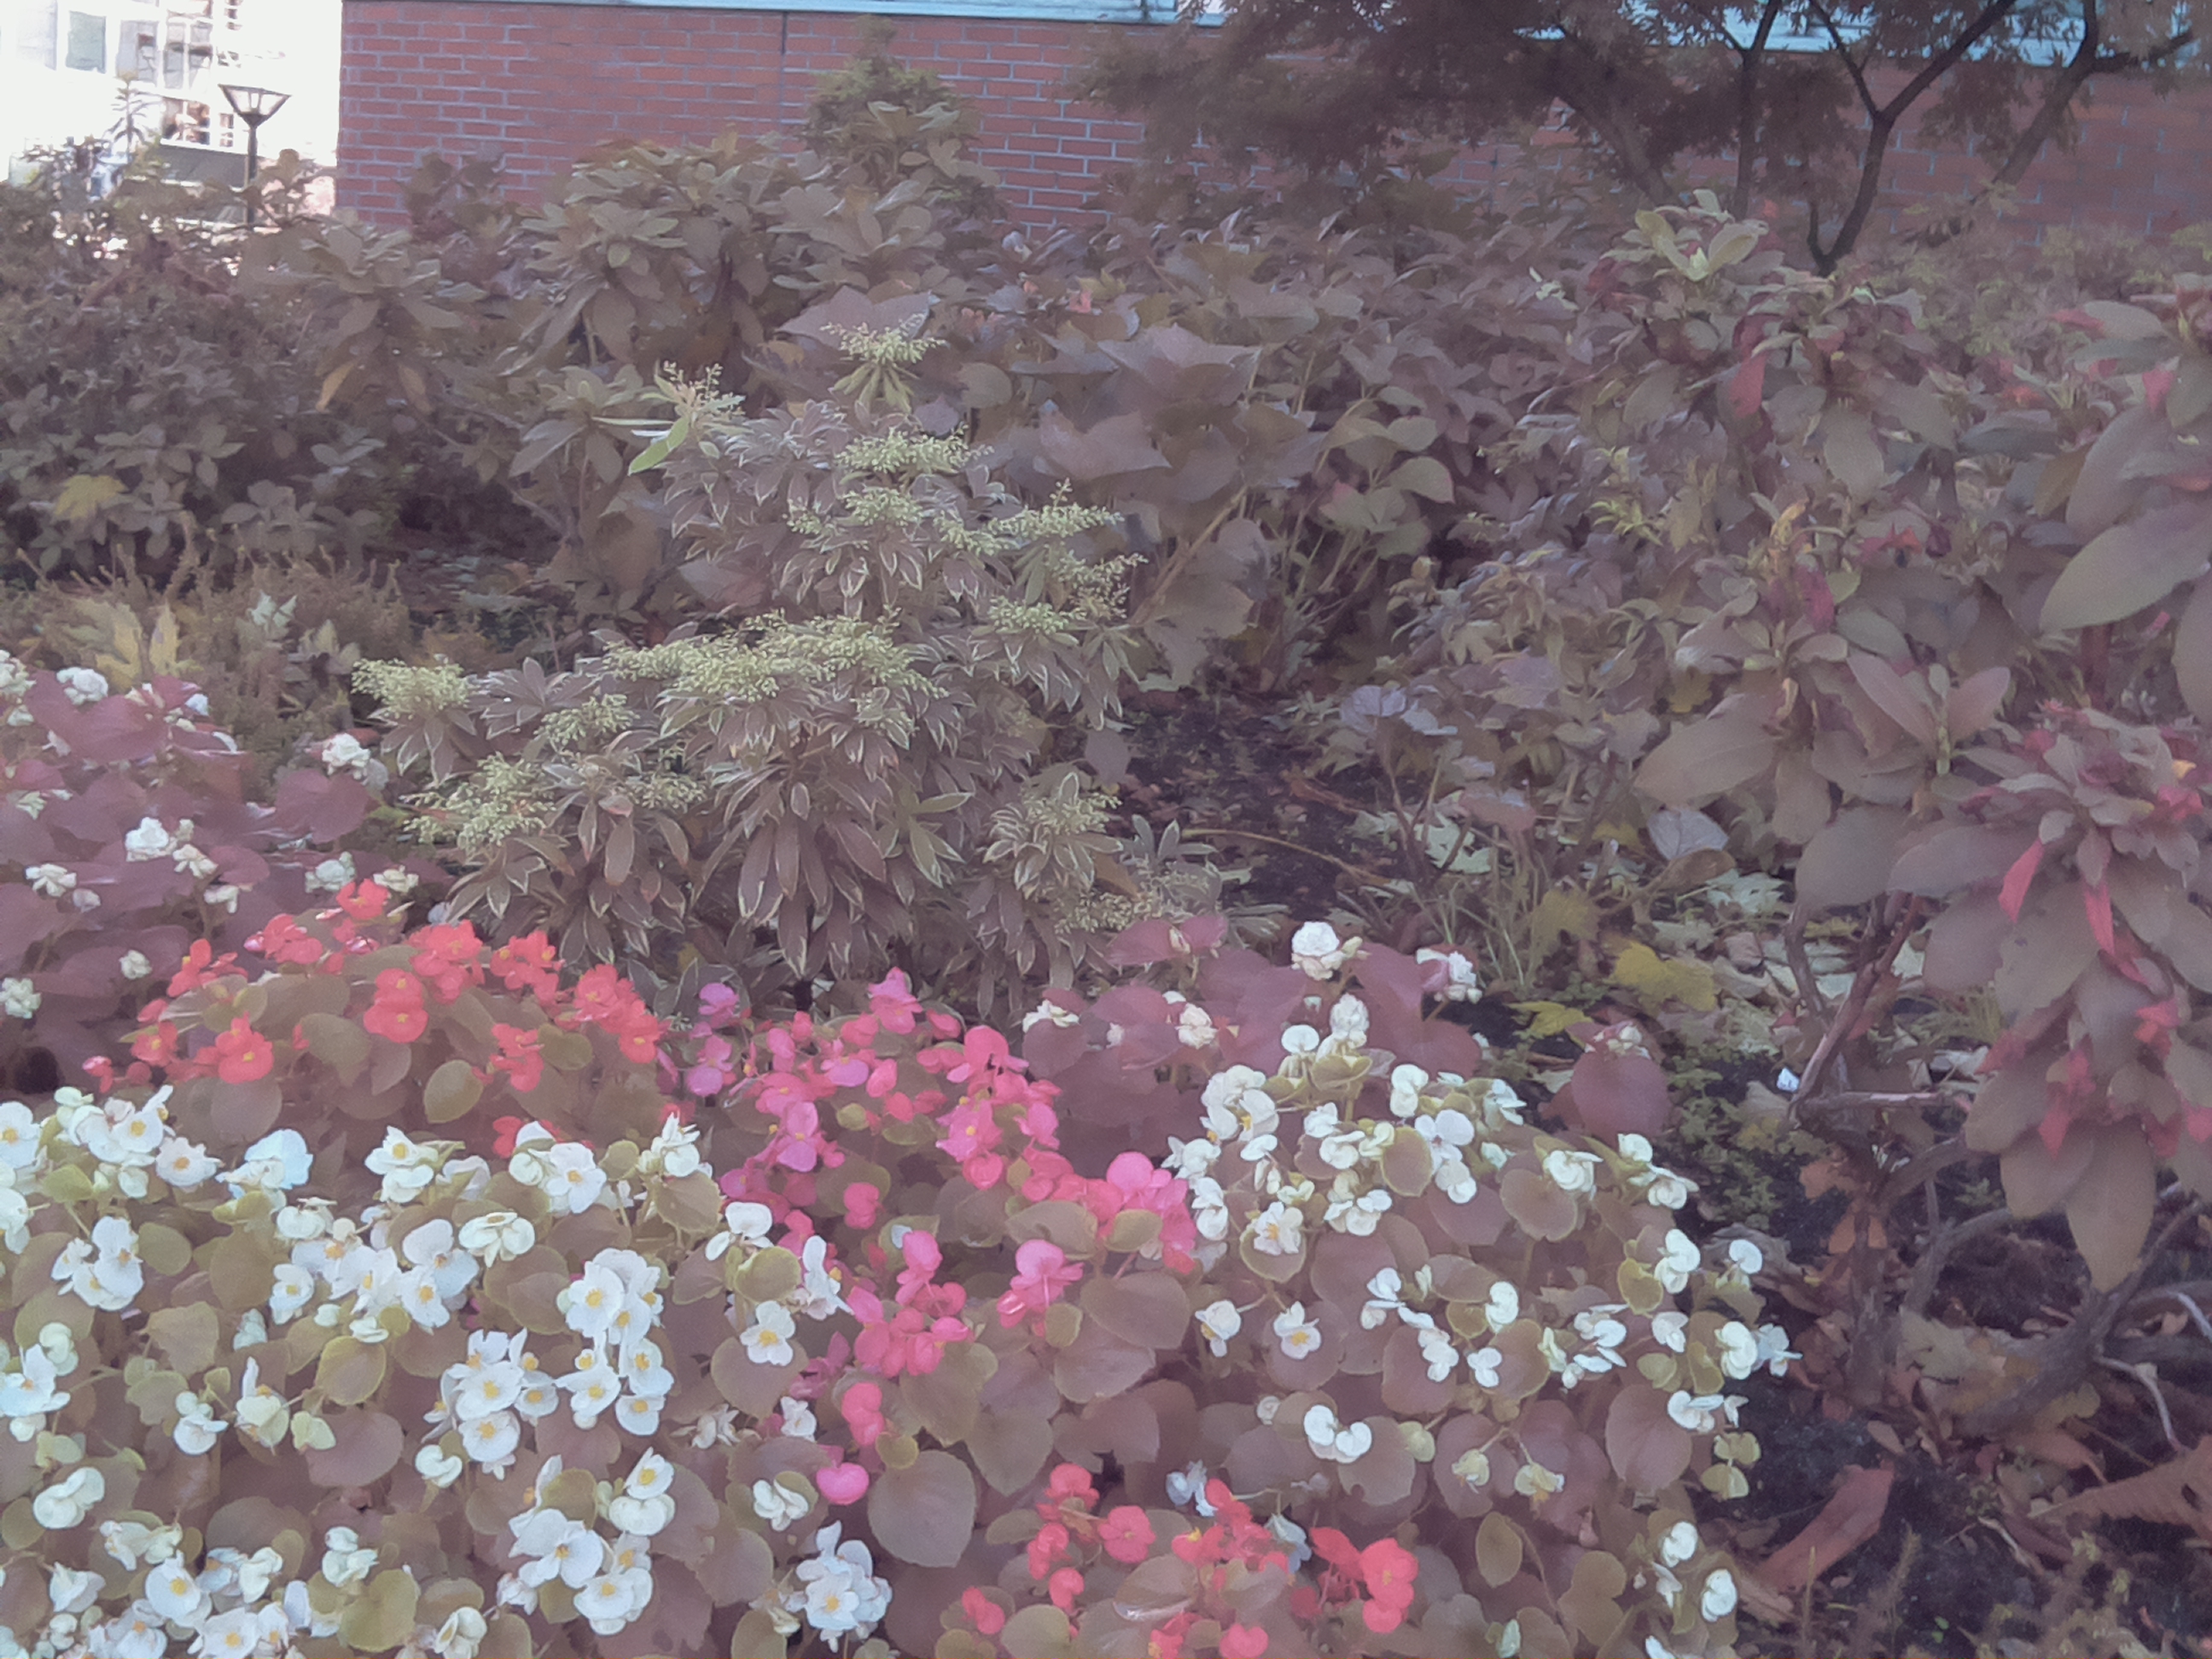
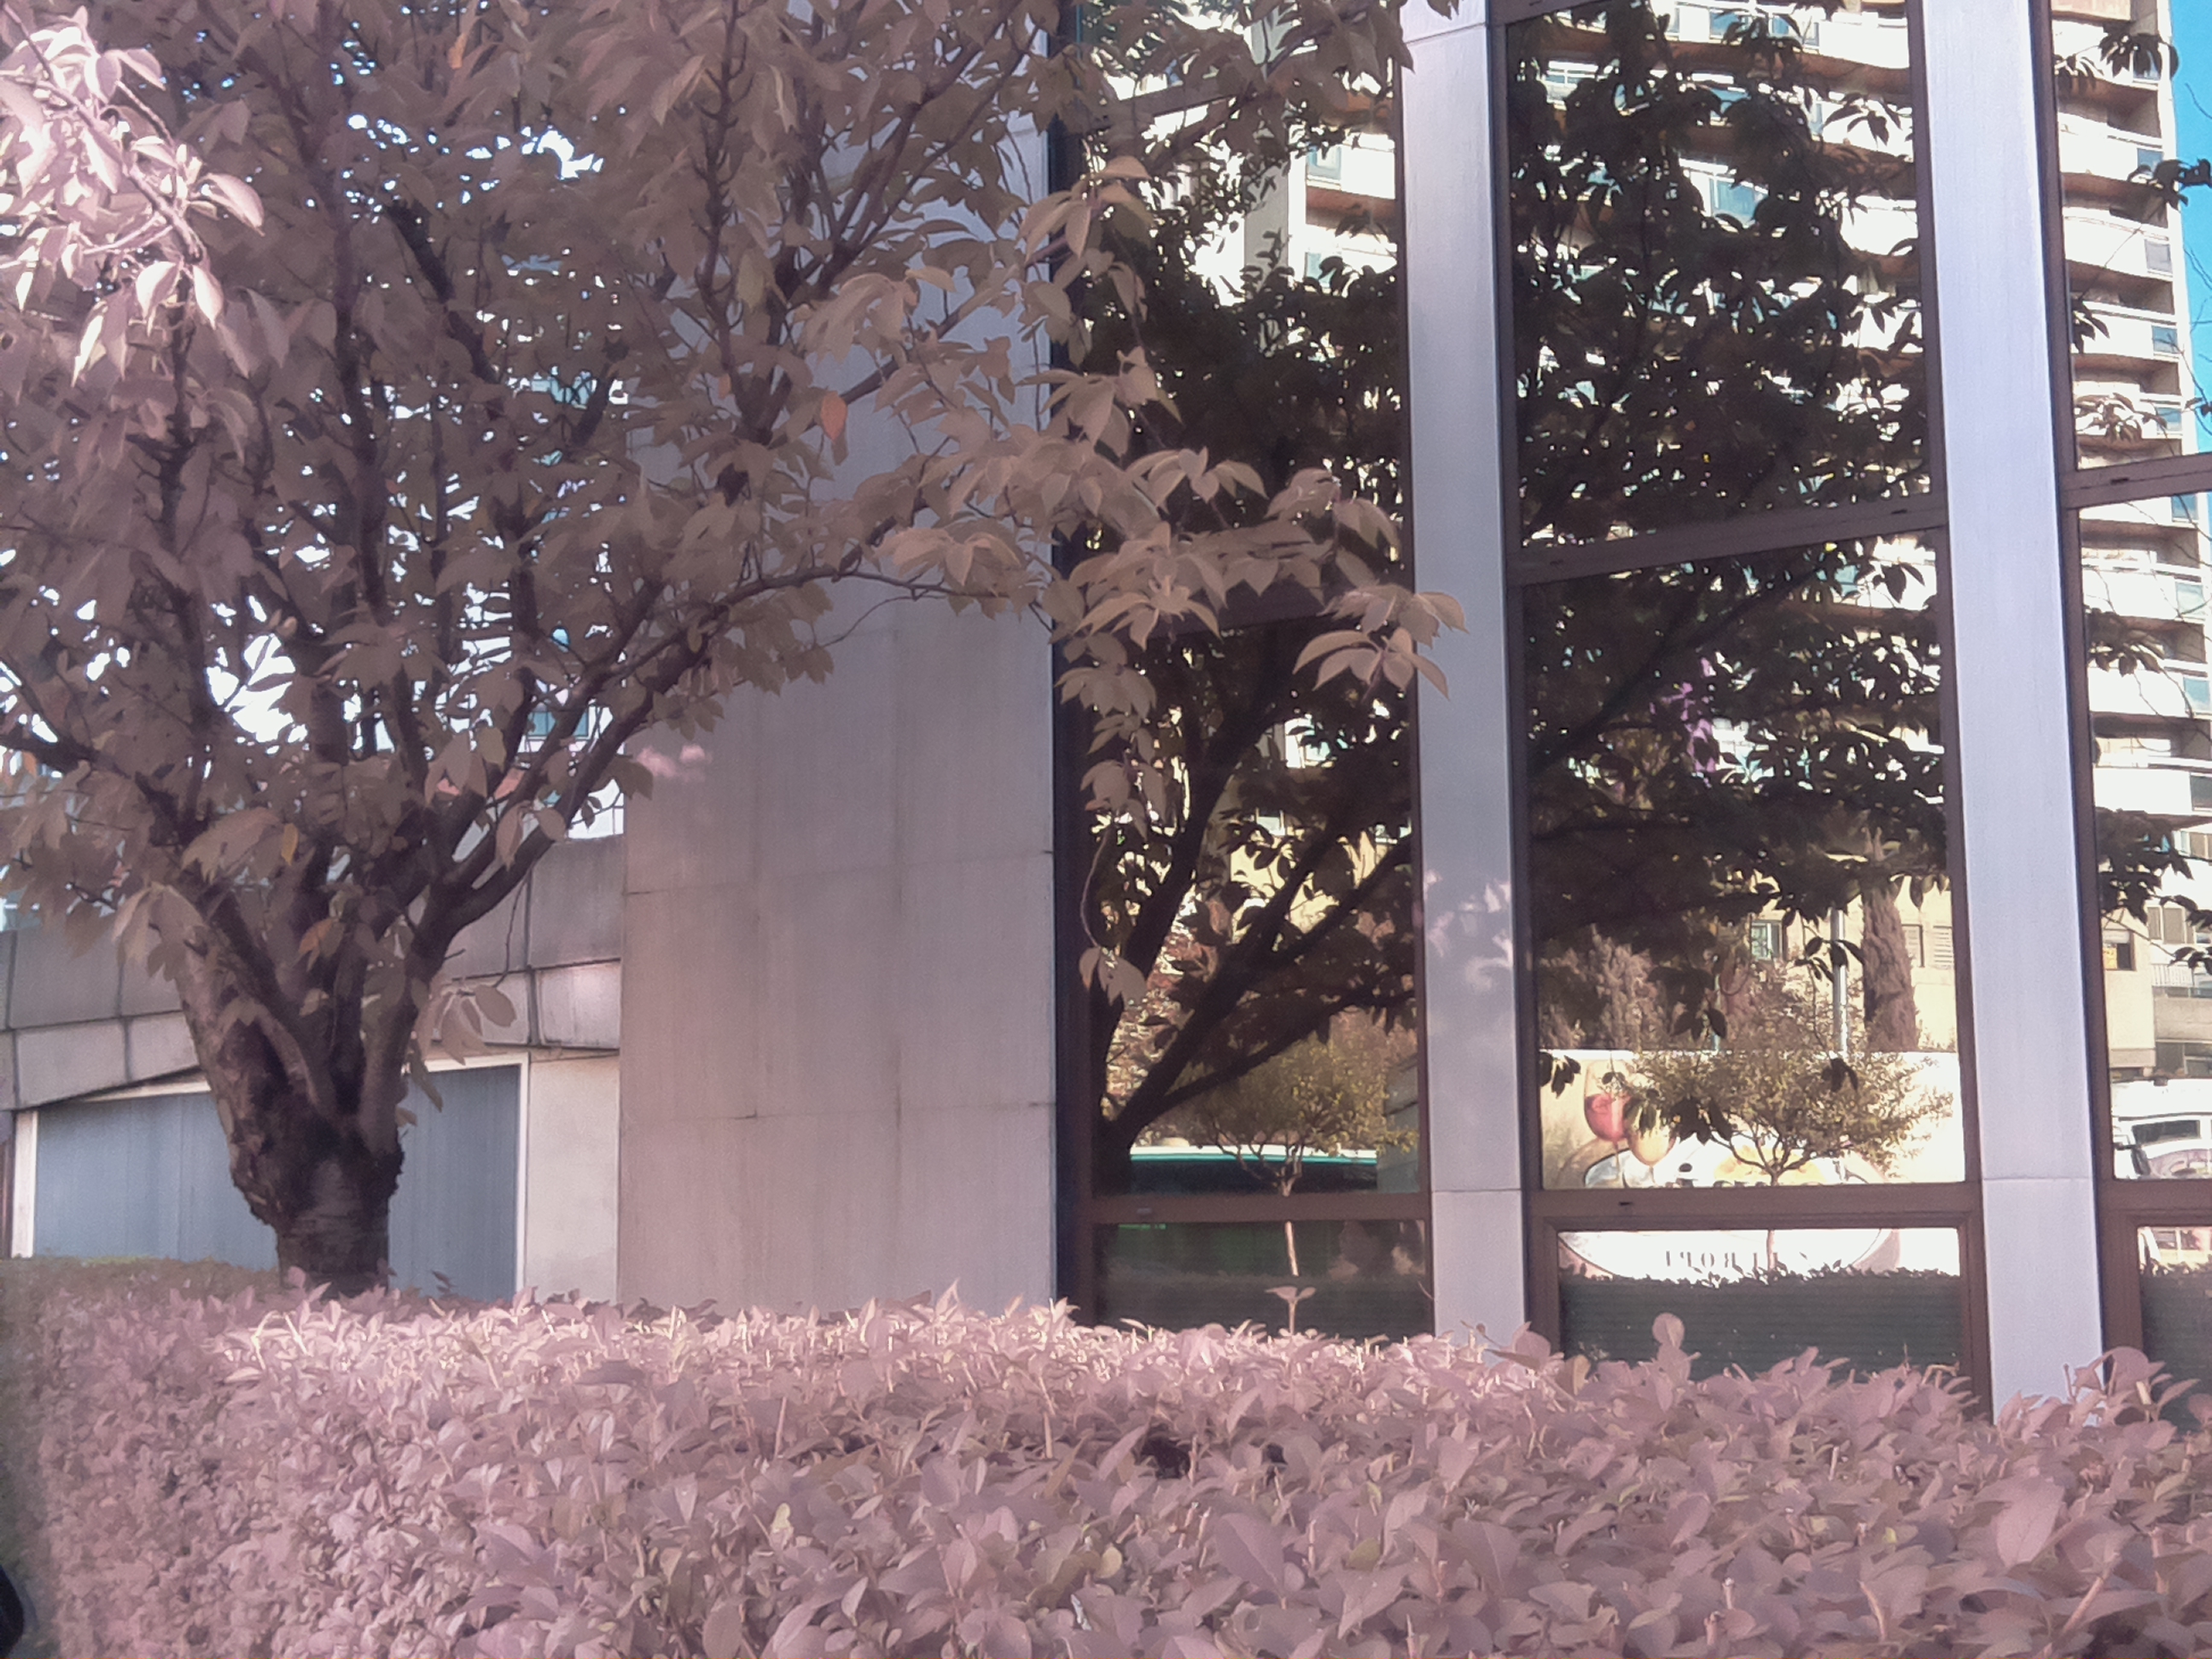
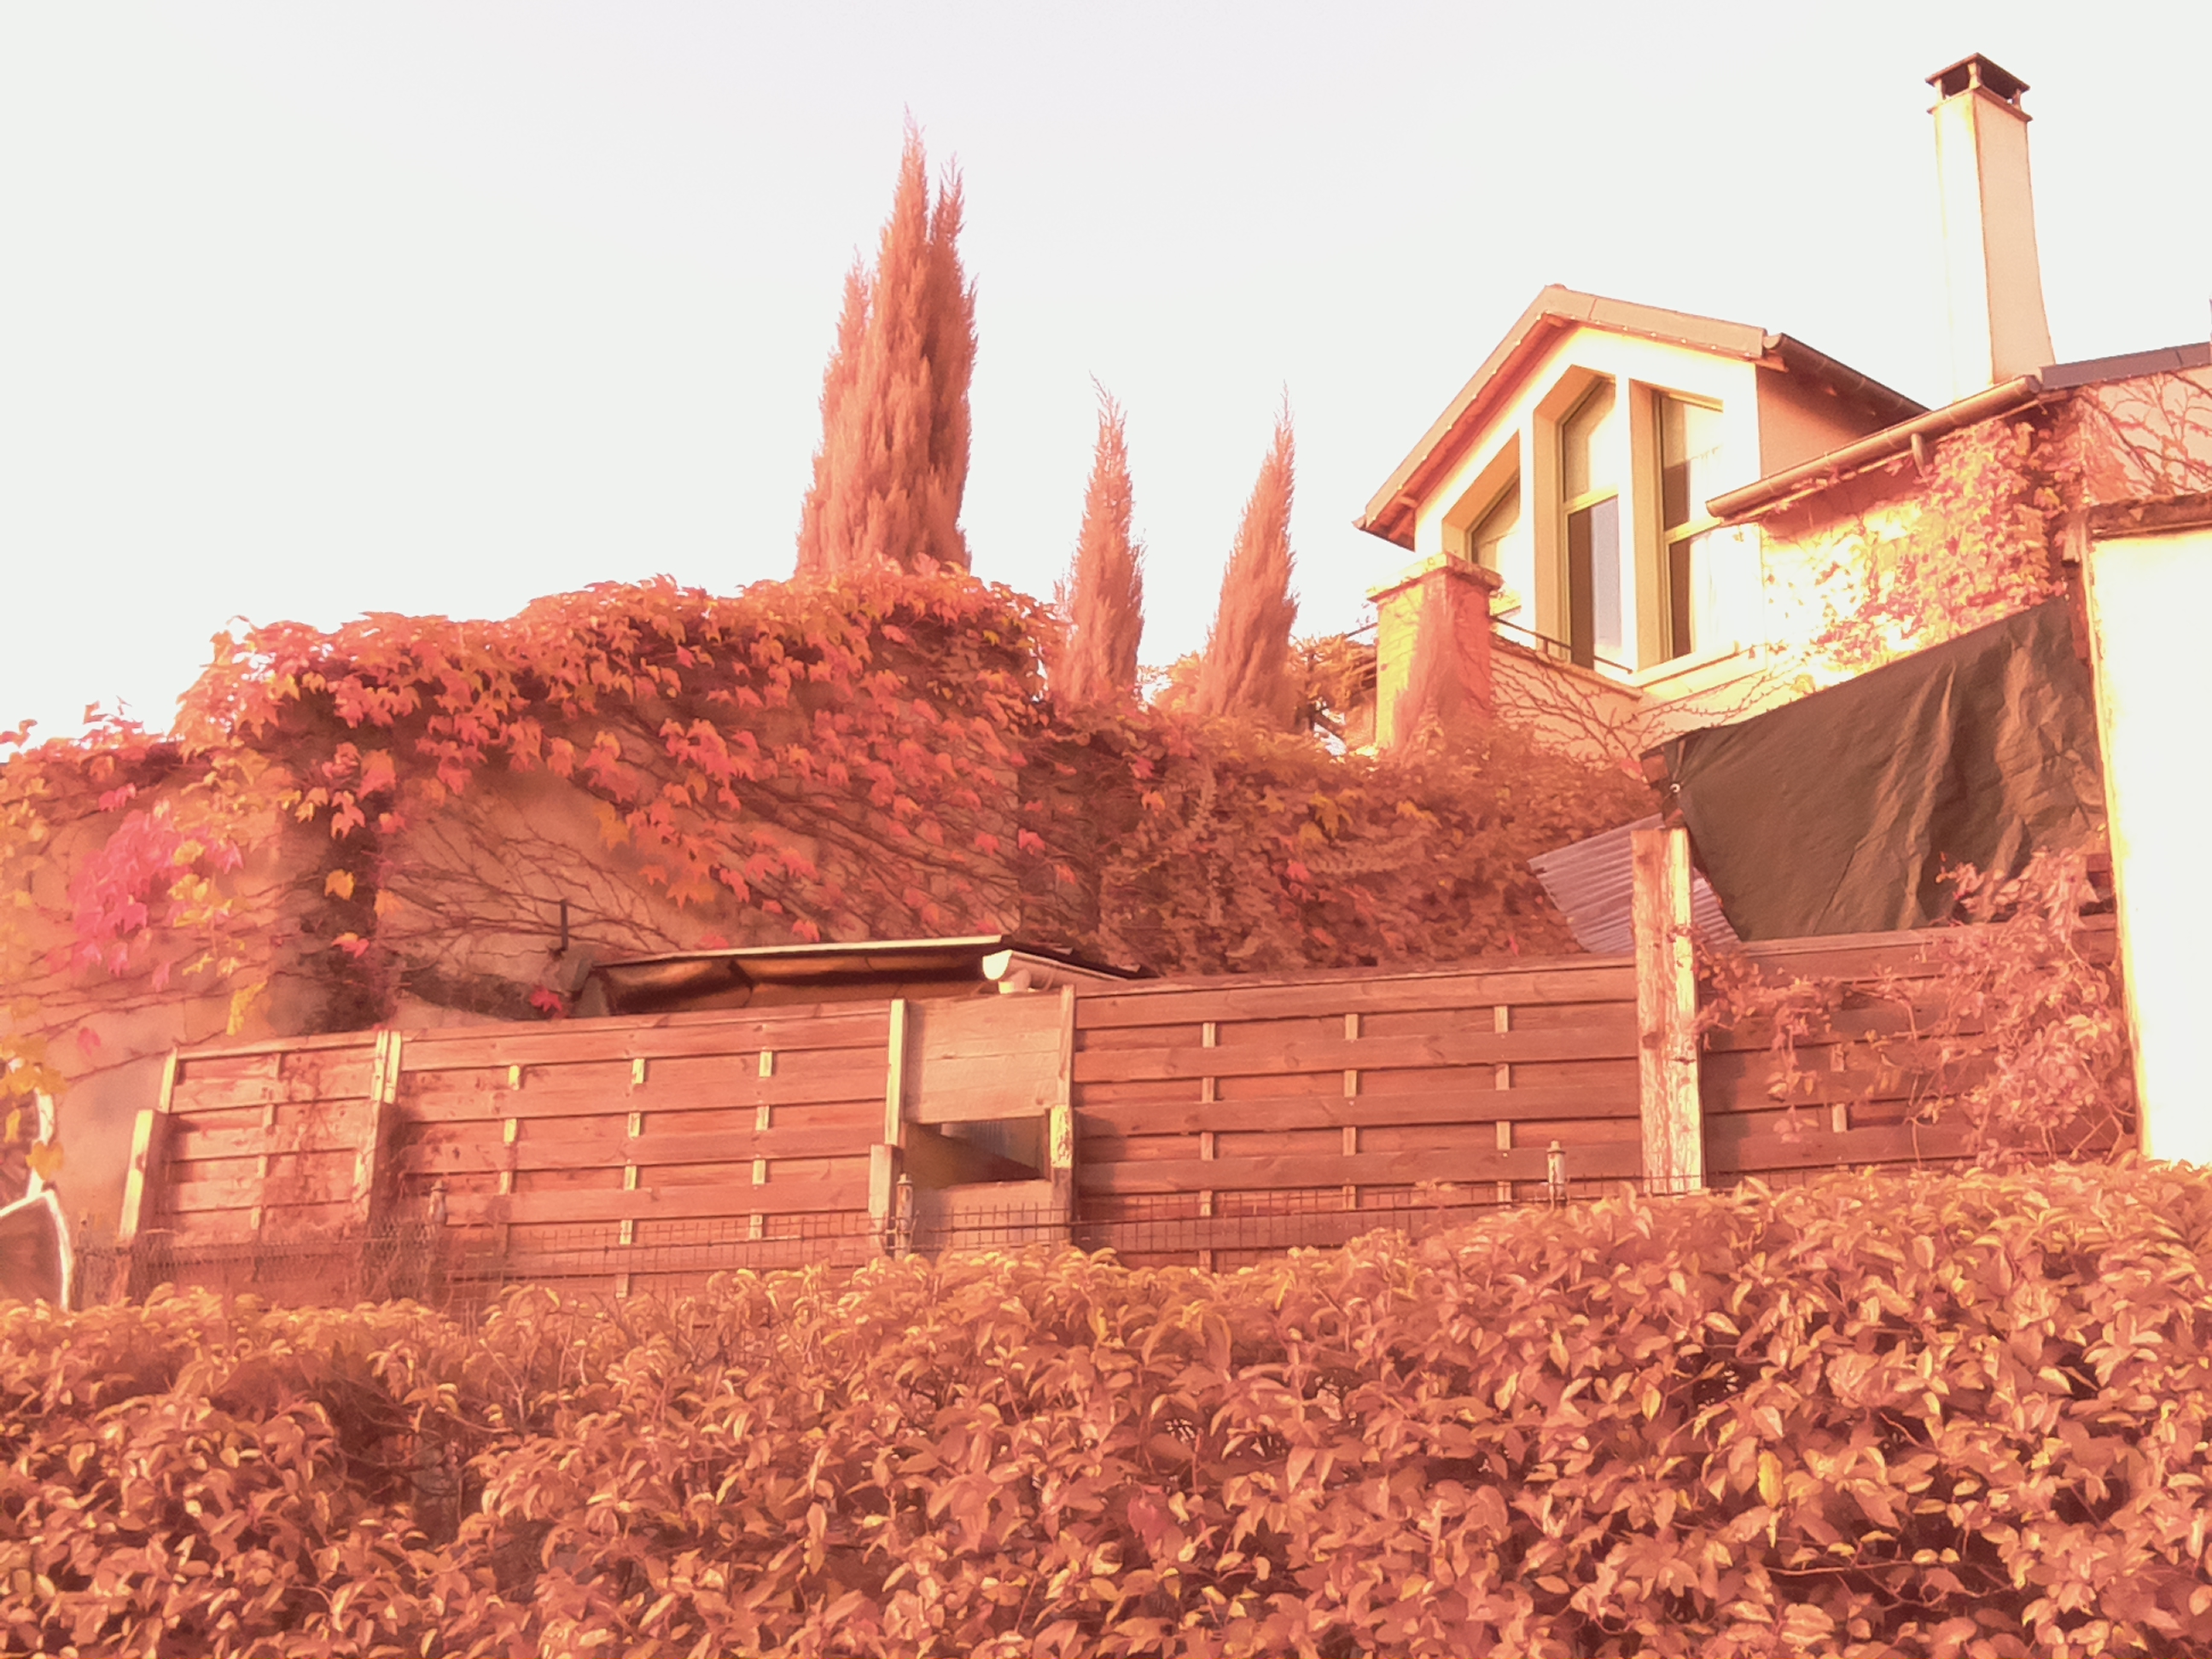
Here are some pictures taken with my little box.

Infrared

Infrared

Infrared
Infrared
Infrared
Infrared
Infrared

Infrared
Infrared

Infrared

Infrared

Infrared

Infrared
Infrared